
🐠 Saltwater Aquariums & 🪸 Reef Tanks
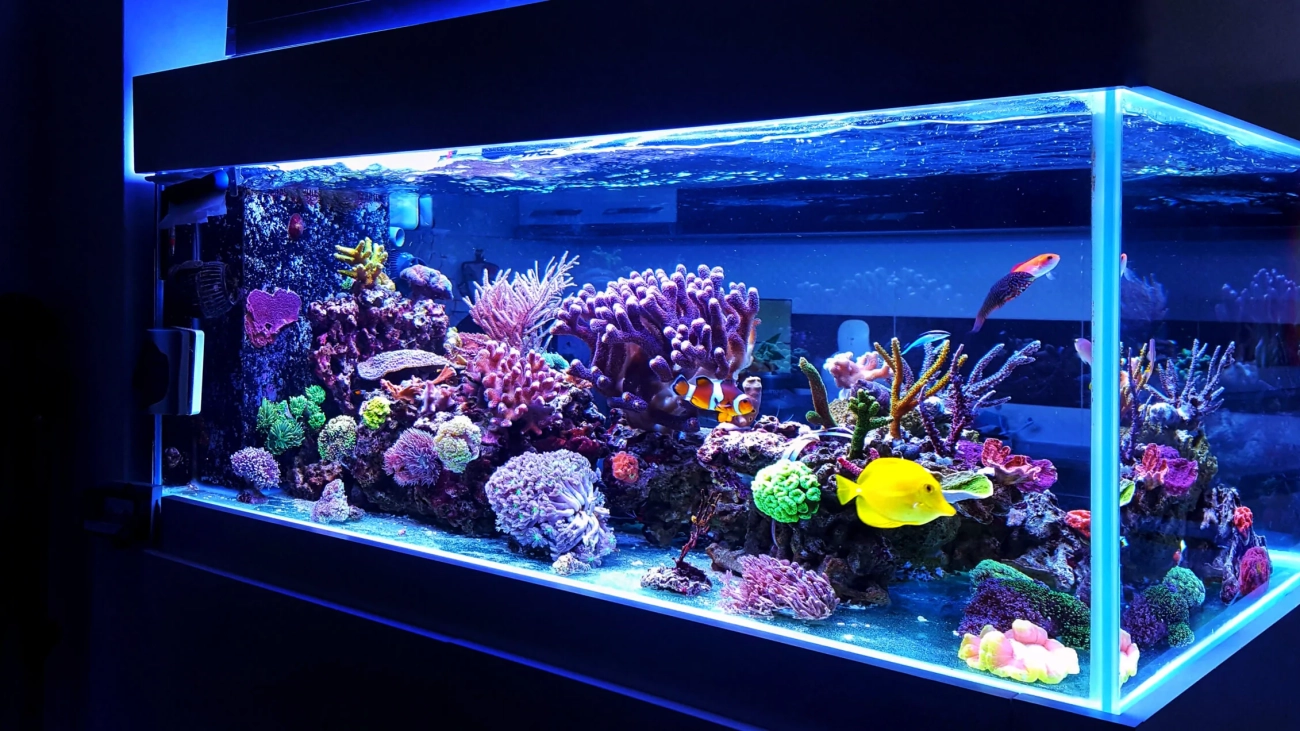
 Saltwater aquariums and reef tanks bring the beauty of the ocean into your living or workspace. With colorful marine fish, corals, and live rock, you can create a thriving underwater ecosystem that feels like a natural reef. These setups are more advanced than freshwater aquariums, but with proper planning and care, they can become a stunning centerpiece and a source of relaxation.
For beginners, saltwater tanks can feel overwhelming. Common questions include:
- What’s the difference between a saltwater tank and a reef tank?
- How big should my first tank be?
- What equipment do I really need?
- Are corals hard to keep alive?
This guide will answer these questions and help you build your first marine aquarium successfully.
🌊 What’s the Difference?
Saltwater Aquariums generally house marine fish, live sand, and sometimes live rock.
Reef Tanks go a step further, adding corals and invertebrates, creating a mini-ecosystem that mimics real reefs.
🎨 Types of Saltwater Setups
1 Fish-Only (FO)
- Basic saltwater tank with marine fish and decorations.
- Lower maintenance, great for beginners.
2 FOWLR (Fish-Only with Live Rock)
- Uses live rock for natural filtration and habitat.
- More stable environment than FO tanks.
3 Reef Tank
- Includes fish, corals, and invertebrates.
- Most visually stunning but requires more care.
4 Nano Reef
- Compact reef tanks under 100 liters.
- Stylish but need extra attention to stability.
🛠 Equipment You’ll Need
A successful saltwater or reef tank requires the right gear:
1. Aquarium Tank
At least 100 liters for beginners — larger tanks are more stable.
2. Filtration
Protein skimmer, canister filter, or sump system to keep water clean.
3. Lighting 💡
Corals need reef-safe LED lighting with the right spectrum.
4. Heater & Chiller
Keeps water at a stable tropical temperature (24–26°C).
5. Live Rock & Substrate
Provides natural filtration and a habitat for marine life.
6. Salt Mix & RO/DI Water
Essential for creating clean, safe saltwater.
🪨 Step-by-Step Setup Guide: Saltwater & Reef Tanks
1. Plan Your Tank ✏️
Before buying anything, decide the type of marine aquarium you want:
- Fish-Only (FO): Colorful marine fish with decorative rock or artificial corals.
- Fish-Only with Live Rock (FOWLR): Includes live rock for biological filtration and hiding spots.
- Reef Tank: Complete ecosystem including corals, invertebrates, and reef-safe fish.
Consider your space, budget, and experience level. Reef tanks are the most complex; beginners may start with FOWLR or fish-only setups.
2. Prepare the Tank
- Clean the Aquarium: Rinse the glass with freshwater—never use soap or chemicals.
- Add Substrate: Use sand or crushed coral. For reef tanks, live sand introduces beneficial bacteria.
- Prepare Saltwater:
- Use RO/DI water for purity.
- Mix marine salt according to instructions (usually 1 scoop per 10 liters).
- Stir or use a pump to dissolve fully before adding to the tank.
- Check Salinity: Ideal salinity is 1.023–1.025 SG (~35 ppt). Use a refractometer or hydrometer for accuracy.
- Fill the Tank Slowly: Pour water gently over a plate or bowl to avoid disturbing substrate.
3. Add Live Rock & Decorations
- Live Rock provides essential bacteria and structure.
- Arrange rocks using the rule of thirds for a natural look.
- Ensure rocks are stable—never stack in a way that could collapse.
4. Install Equipment
a) Filtration
- Canister Filter / Hang-On-Back Filter: Removes debris and maintains water clarity.
- Protein Skimmer: Removes dissolved organic waste before it turns into ammonia/nitrate.
- Setup: Place on the tank or sump according to instructions.
- Adjust airflow to produce fine bubbles.
- Empty the collection cup regularly.
b) Heater
- Keep water at 24–26°C for most tropical marine fish.
- Use a reliable thermometer to monitor temperature.
c) Lighting
- LED or T5 lights are ideal for reef tanks.
- Soft corals need moderate lighting; SPS corals require high-intensity lighting.
- Use a timer to maintain 8–10 hours/day.
d) Water Movement
- Powerheads or wavemakers mimic ocean currents.
- Gentle flow for soft corals; stronger flow for SPS corals.
5. Cycle the Tank (4–6 weeks)
- Establish beneficial bacteria that convert ammonia → nitrite → nitrate.
- Test water parameters: ammonia, nitrite, nitrate, pH, and salinity.
- Only add fish when ammonia and nitrite reach 0 ppm and nitrate is low.
- Cycle using live rock, live sand, or a hardy fish as an ammonia source.
6. Add Livestock Slowly
- Start with hardy fish like clownfish or gobies.
- Introduce corals gradually.
- Monitor water parameters and adjust equipment as needed.
- Quarantine new fish/corals when possible.
✅ Extra Tips
- Weekly testing of salinity, pH, nitrate, and other parameters.
- Top-off water with RO/DI to replace evaporation without changing salinity.
- Patience is key—rushing livestock addition can harm your tank.
🔧 Maintenance Tips
Water Changes: 10–20% weekly with clean saltwater.
Lighting: 8–10 hours/day with a timer.
Test Water: Regularly check salinity, pH, ammonia, nitrite, nitrate.
Feeding: Don’t overfeed — it causes algae growth.
⚡ Common Beginner Mistakes
Adding fish too early before cycling.
Using tap water instead of RO/DI water.
Overstocking fish or corals.
Skipping regular water tests.
🌟 What’s Next?
Saltwater aquariums and reef tanks require patience, but the results are breathtaking. With the right guidance, you can enjoy a thriving marine world at home. At Urban Nature Arts, we’ll be sharing detailed beginner-friendly guides on:
💡 Choosing Your First Marine Fish
🌱 Beginner Corals for Reef Tanks
🌊 Saltwater Aquarium Cycling Explained
✅ Start small, learn step by step, and soon you’ll have your own piece of the ocean.